
Plein Air Sketching: From Studio to Outdoors
Discover how to take your artistic practice outside and capture the raw beauty of Ireland’s countryside in real time.
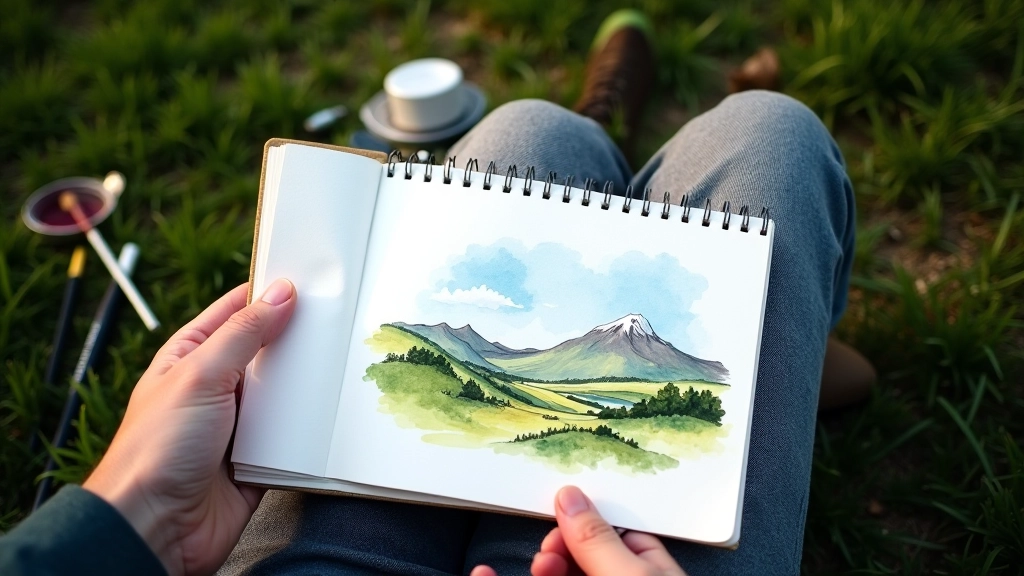
Why Artists Step Outside
There’s something transformative about drawing what you see directly from nature. The light shifts constantly. The shadows change shape. The wind picks up and moves your paper around. It’s messy, unpredictable, and absolutely worth doing.
Plein air sketching—painting and drawing outdoors from direct observation—isn’t a new idea. French artists have been doing it for centuries. But it’s not just for the committed art student. Anyone with a pencil, some paper, and a willingness to sit outside can do this. You’ll improve faster than you’d expect, and you’ll actually enjoy the process.
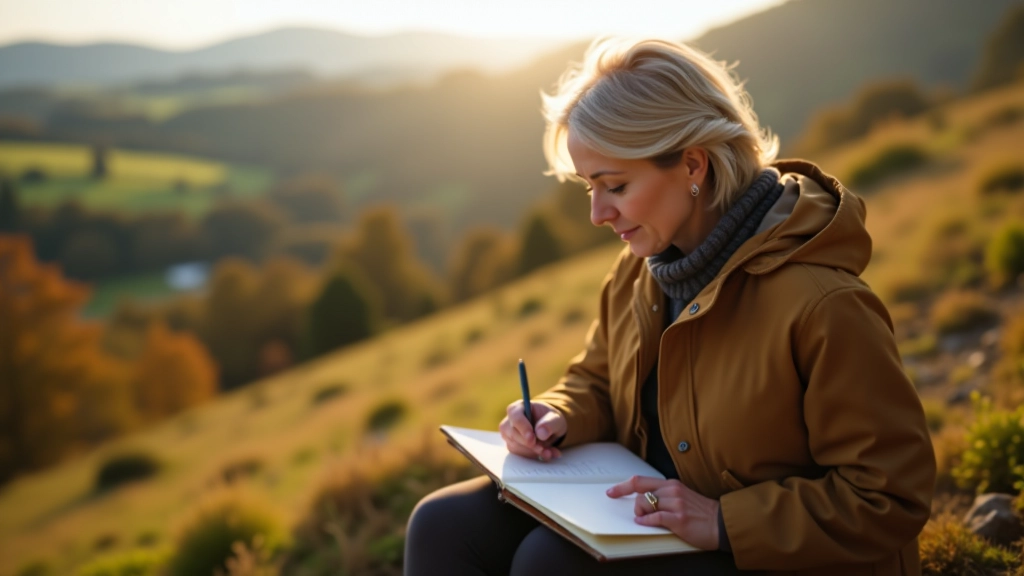
What You’ll Actually Gain
The benefits go way beyond making better drawings.
Sharper Observation
You’ll notice how light actually works. Not how you think it works, but what you really see. That’s a skill that transfers everywhere.
Faster Sketching
Working outdoors forces you to be quick. You can’t overthink every line. That speed actually improves your mark-making in the studio too.
Real Connection to Place
When you sketch a specific hillside or tree, you understand that place differently. You’re not just looking—you’re really seeing it.
Community
Local sketching groups meet regularly. You’ll end up drawing alongside other people who care about this. No judgment, just shared focus.
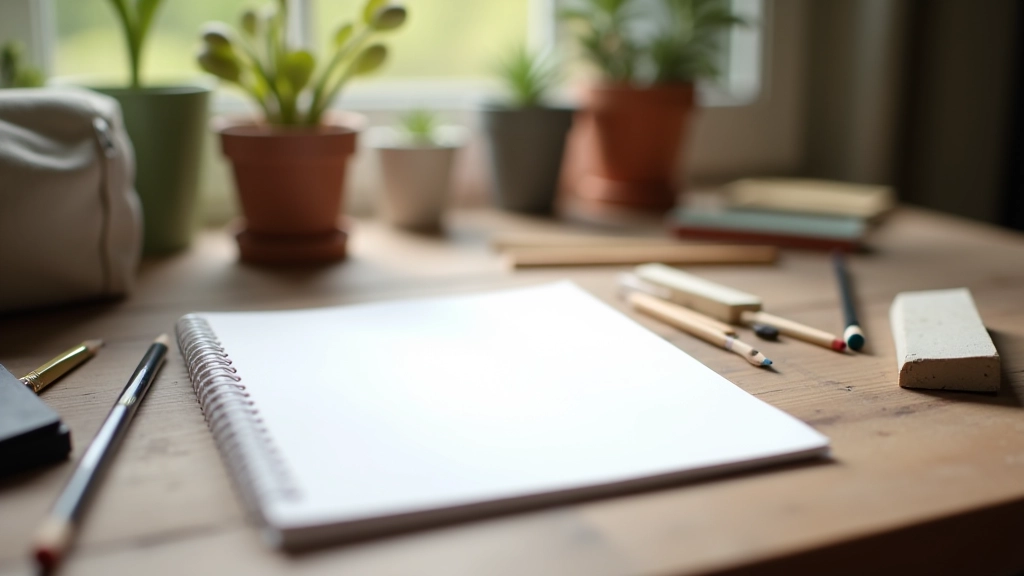
What You Need to Get Started
Don’t overthink your kit. You really don’t need much. Start simple and add things only when you actually need them.
The Practical Approach
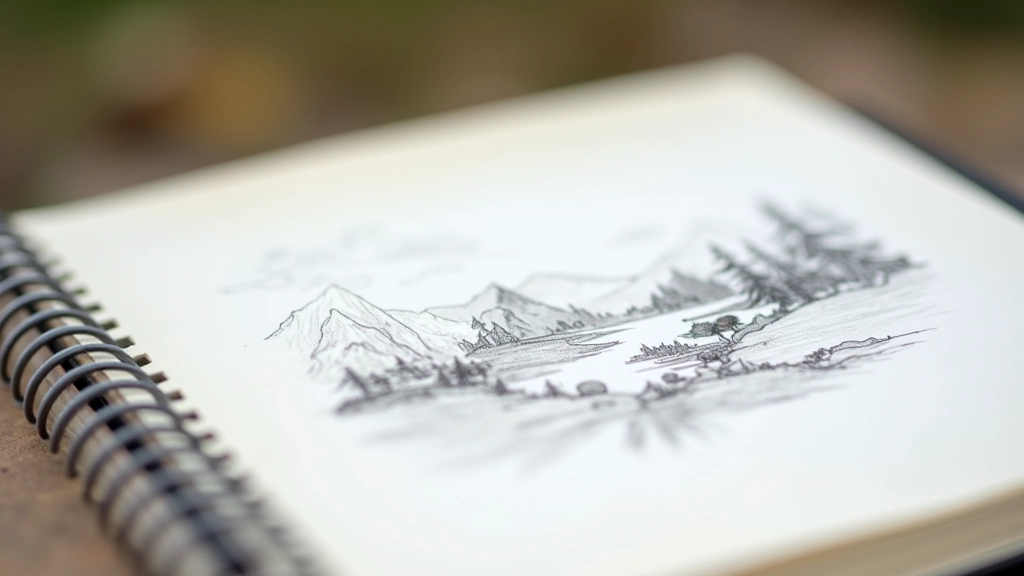
Start by finding a spot that interests you. Don’t aim for the most dramatic view—a corner of a field, a cluster of trees, a stone wall will do. Spend 2-3 minutes just looking before you draw anything.
Then lightly sketch the basic shapes. You’re building a structure. Landscape is roughly three layers: foreground, middle ground, background. Get those proportions roughly right before adding detail.
The real work is observing how light hits different surfaces. A grassy field isn’t one green. It’s shadows, highlights, mid-tones. Squint at the scene—that helps you see the main value structure. Then shade accordingly.
You won’t finish. That’s fine. A 20-minute sketch that captures the feeling of a place beats a labored 2-hour drawing that lost its spontaneity. The goal isn’t a perfect finished piece. It’s direct observation and honest mark-making.
Where to Sketch in Ireland
Ireland’s countryside offers endless material. Here’s where to start looking.
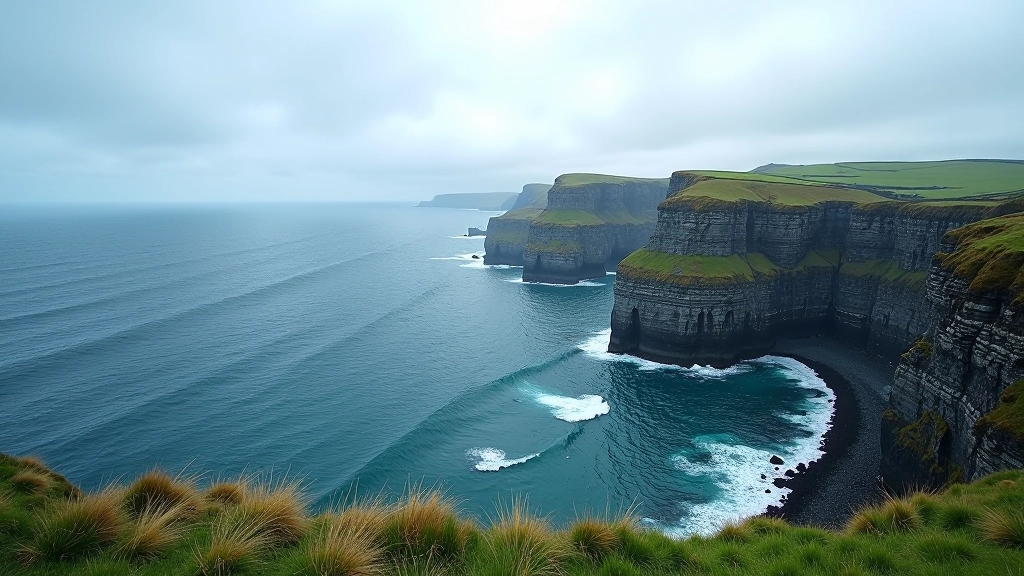
Coastal Areas
Cliffs, rocky shores, and beach scenes offer dramatic compositions. The light changes constantly—perfect for capturing mood and atmosphere in quick sketches.
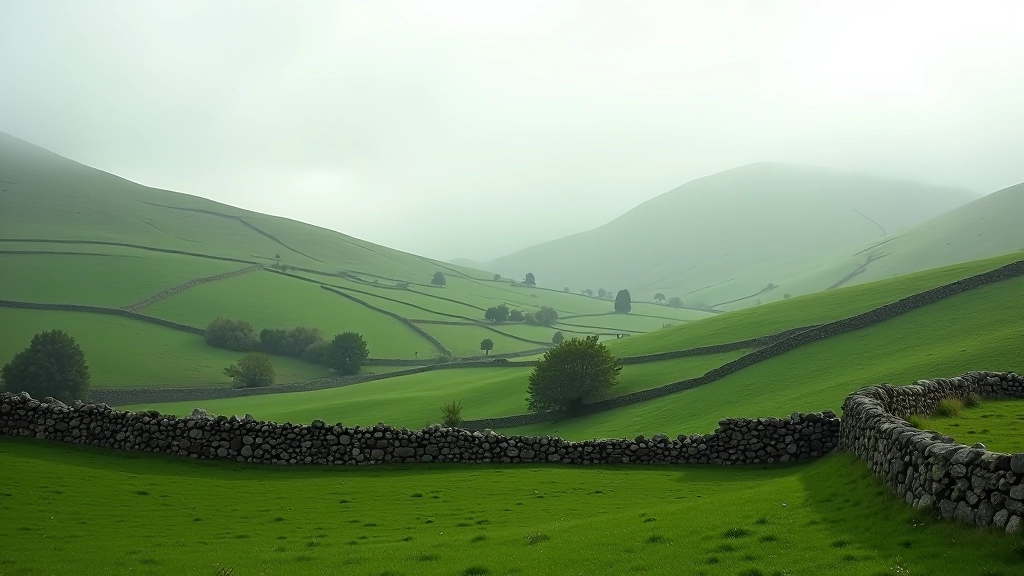
Moorland & Hills
Open landscapes teach you value and proportion. You can see how shapes relate at distance. The challenge of empty space forces honest drawing.
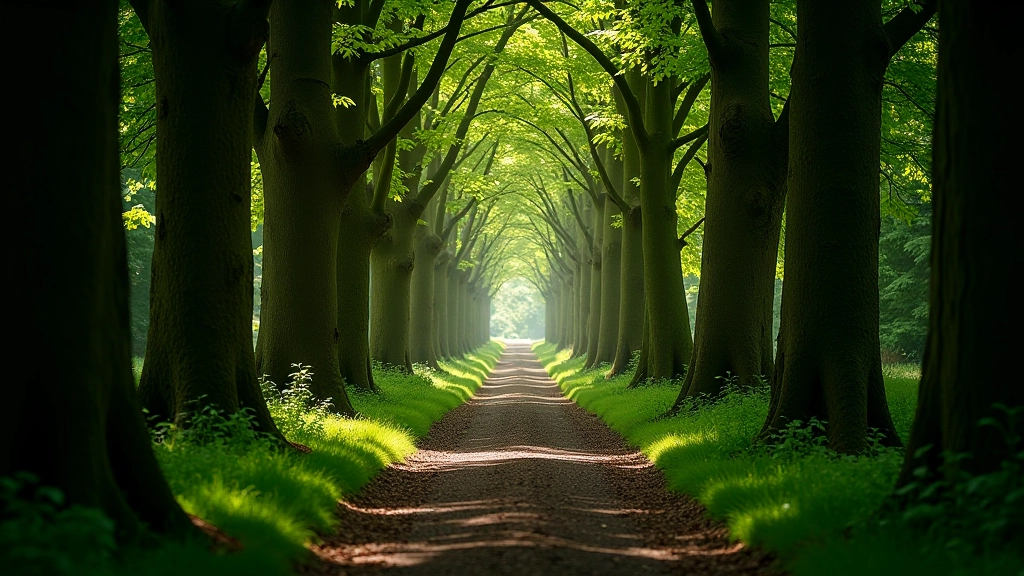
Woodland & Forest
Trees present technical challenges—varying bark textures, branching patterns, light through leaves. You’ll develop skills here you can’t get elsewhere.
Tips That Actually Work
Start with Ugly Sketches
Your first outdoor drawings won’t look good. That’s exactly right. You’re learning, not performing. After 15-20 sketches you’ll notice real improvement.
Sit for Exactly 30 Minutes
Don’t plan on finishing. Just commit to staying put for half an hour. That timeframe forces you to prioritize what matters and skip fussy details.
Bring a Viewfinder
A simple L-shaped cardboard frame helps you compose. Hold it at arm’s length to frame the scene. This prevents “too much landscape” overwhelm.
Date Every Sketch
Write the date and location on the back. You’ll build a record. Looking back at sketches from months ago shows progress you might not notice week to week.
Join a Local Group
Most areas have sketching meetups. Meeting other people doing this removes the awkwardness of drawing alone in public. You’ll also learn from watching others work.
Don’t Wait for Perfect Weather
Overcast days are actually ideal—no harsh shadows. Rainy weather changes how things look. Wind and weather are part of the experience. You’ll adapt.
How to Progress Beyond the Basics
After you’ve done 20-30 sketches, you’re ready to push further. The basics are solid. Now you can experiment.
Try different materials. Bring watercolor. Use ink and pen. Work with soft pastels. Each medium teaches you something different about how to capture what you see. Watercolor especially forces speed—the paint dries and you can’t fuss over it.
Challenge yourself with different times of day. Early morning light looks completely different from afternoon. Evening light is warmer, longer shadows. Each lighting condition teaches observation skills you need.
Then return to the same location in different seasons. The same hillside in spring versus autumn presents totally different value relationships. The tree line changes. You’ll understand landscape structure at a deeper level.
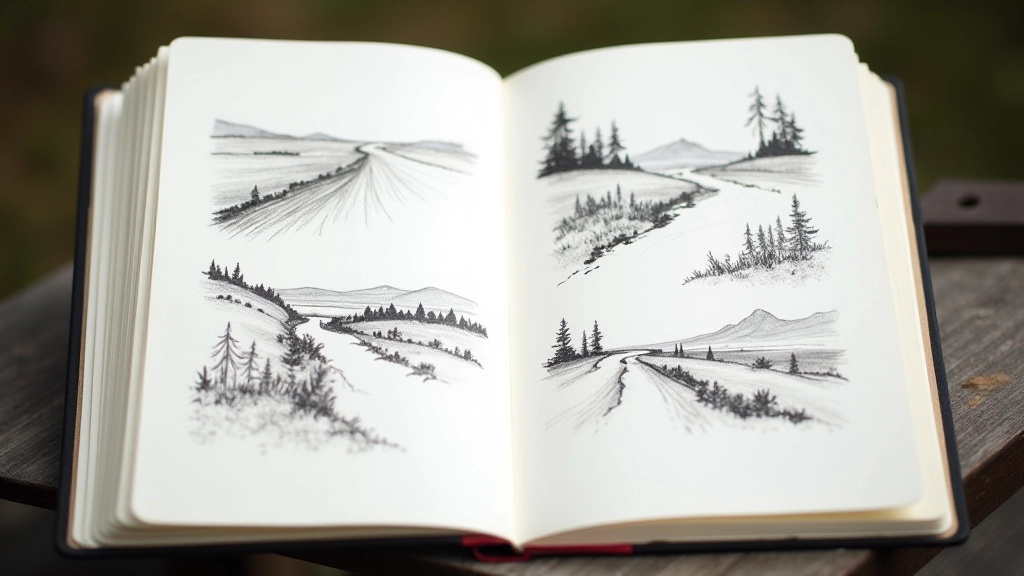
The Real Value
Plein air sketching isn’t about making gallery-ready artwork. It’s about training your eye and hand to work together honestly. You’ll see the world differently. Light, shadow, form, texture—these aren’t abstract concepts anymore. You understand them because you’ve spent time drawing them.
That understanding changes how you see landscapes forever. A hillside isn’t just pretty scenery—it’s a study in proportion and value. A tree isn’t just something green—it’s a complex structure of light and shadow. You’re not passively looking at the countryside. You’re actively seeing it.
Start this weekend. Find a quiet spot. Bring your sketchbook. Sit for 30 minutes. Don’t worry about the result. Just draw what you see. Come back next week and do it again. That’s all you need to start.
Information Disclaimer
This article provides general information and guidance on plein air sketching techniques and practices. Individual experiences with outdoor sketching vary based on personal skill level, physical ability, weather conditions, and location. The advice shared here is educational in nature and intended to help you explore this creative practice. Always respect private property, follow local guidelines when sketching in public spaces, and check weather conditions before heading outdoors. For specific artistic instruction, consider connecting with local sketching groups or taking classes from experienced instructors.